Before-and-After Photos on Dental Websites: A Design Guide
Design a dental before and after website gallery that builds trust and converts visitors with proper photography, UX, and patient consent.
A prospective patient is comparing two cosmetic dentistry practices. Both have five-star reviews. Both list similar credentials. One has a polished gallery of before-and-after cases organized by treatment. The other has a few grainy photos buried in a blog post from 2019. The decision makes itself. Your dental before and after website gallery is often the final push a patient needs to pick up the phone.
Visual proof outperforms every other trust signal on a dental website. Testimonials tell patients you’re good. Before-and-after photos show them. When designed correctly, a smile gallery becomes one of the highest-traffic, highest-converting sections of your entire site.
Why Before-and-After Galleries Drive Dental Website Conversions
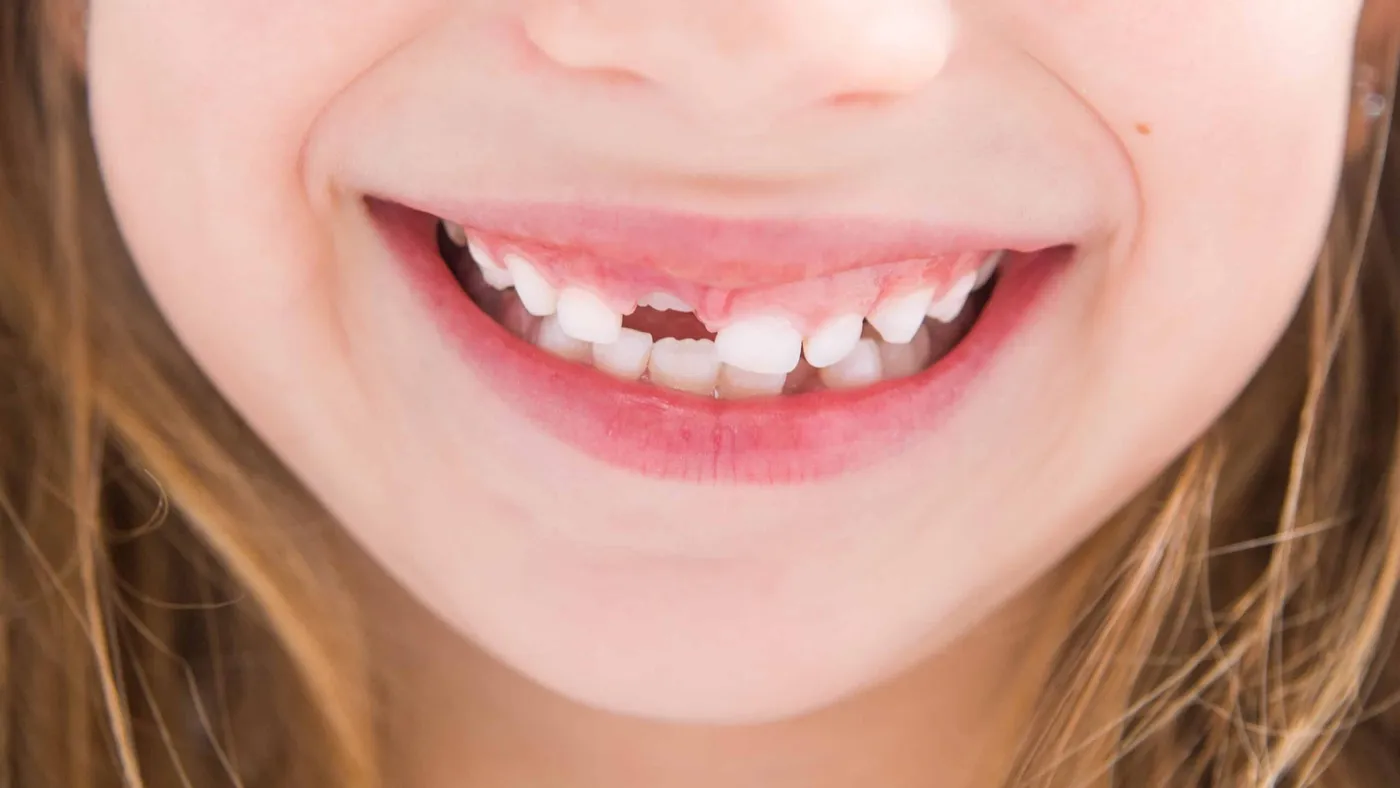
Patients shopping for cosmetic and restorative dentistry are visual buyers. They want to see results that mirror their own situation. A patient with a gap between their front teeth scrolls until they find a case that looks like theirs, then imagines the “after” as their own outcome.
This isn’t vanity. It’s the psychology of decision-making. Patients can’t evaluate clinical skill from a credentials page. But they can evaluate outcomes from photos. A well-curated gallery does the selling your copy never could.
The data backs this up. Pages with before-and-after galleries consistently show longer time-on-page and higher conversion rates than pages without them. They also generate backlinks and social shares, which feed your broader SEO strategy.
Photography Standards That Make or Break Your Gallery
Bad photos are worse than no photos. A poorly lit, inconsistent gallery signals carelessness — the exact opposite of what a patient wants from their dentist.
Lighting
Use consistent, diffused lighting for every case. Ring lights or dual softbox setups eliminate harsh shadows and create even illumination across teeth and gums. Natural window light varies too much between appointments. Invest in a repeatable setup.
The “before” and “after” shots must use identical lighting. If the “before” looks dim and the “after” looks bright, patients will (correctly) suspect manipulation.
Angles and Framing
Standardize your angles. At minimum, capture a direct frontal smile, a retracted frontal view, and left and right lateral views. For comprehensive cases, add upper and lower occlusal shots.
Use the same framing distance for before and after pairs. A close-up “after” compared to a wide “before” undermines credibility. Consistency communicates professionalism.
Background and Patient Positioning
Use a neutral background — solid gray or black works well. Position the patient in the same chair, at the same height, with the same head tilt. The only variable between the two photos should be the dental work itself.
Equipment
A DSLR with a macro lens and ring flash produces clinical-quality results. But a modern smartphone with proper lighting and a cheek retractor can produce gallery-worthy photos if your technique is consistent. The setup matters less than the discipline of repeating it identically every time.
The difference between an amateur gallery and a professional one isn’t the camera — it’s the consistency. Standardize your capture process and every case will reinforce the quality of the last.
Patient Consent: Non-Negotiable
Every photo in your gallery requires documented, signed consent. This isn’t optional, and it isn’t something you handle retroactively.
Build photo consent into your new patient intake process. Use a dedicated release form — separate from your general treatment consent — that specifies how images will be used: website, social media, print materials, educational presentations.
Give patients the option to opt out of specific channels. Some patients will consent to website use but not social media. Respect those boundaries and track them in your practice management system.
Review consent with your dental attorney. HIPAA doesn’t explicitly govern marketing photos, but state regulations vary, and the intersection of patient privacy and marketing carries real liability if handled carelessly.
Organizing Your Gallery by Treatment Type
A single chronological gallery forces patients to scroll through veneer cases when they’re looking for implant results. That friction kills engagement.
Structure your gallery by treatment category: veneers, dental implants, Invisalign, crowns, teeth whitening, full-mouth rehabilitation. This mirrors how patients think and search. It also creates natural landing pages for your treatment page SEO strategy.
Within each category, lead with your strongest cases. The first two or three cases set the quality expectation for the entire gallery. Bury your average results and they’ll never get seen behind your best work.
For each case, include a brief description: the patient’s concern, the treatment performed, and the timeline. Two to three sentences is sufficient. This context helps patients self-identify with the case and provides indexable text for search engines.
Dental Before and After Website UX Design
How you present the photos matters as much as the photos themselves.
Slider vs. Side-by-Side
Interactive before-and-after sliders (where users drag a divider across the image) are engaging and feel modern. They work especially well on individual case pages. Side-by-side layouts work better for gallery overview pages where patients are scanning multiple cases quickly.
Use both. Sliders on detailed case pages. Side-by-side thumbnails on the gallery index.
Mobile Presentation
More than half your gallery traffic comes from mobile devices. Side-by-side layouts that work on desktop become unusable at 375 pixels wide.
On mobile, stack photos vertically — before on top, after below. Use a clear label on each image. Make the gallery swipeable for browsing between cases. Test your gallery on actual phones, not just browser emulators.
Loading Performance
High-resolution dental photos are large files. A gallery page with twenty unoptimized cases will load in eight seconds and lose half its visitors before the first image appears.
Implement lazy loading so images load only as the patient scrolls to them. Serve responsive image sizes based on the visitor’s screen. Convert to WebP format. Target a gallery page that loads its above-the-fold content within two seconds.
Image SEO for Dental Galleries
Your before-and-after photos can rank in Google Image Search, driving additional traffic from patients searching visually.
File names: Use descriptive names like porcelain-veneers-before-after-case-12.webp instead of IMG_4392.jpg.
Alt text: Write specific descriptions. “Before and after porcelain veneers on upper six teeth, correcting gaps and discoloration” gives Google context and serves accessibility.
Structured data: Implement ImageObject schema on each photo. Include the treatment type, date, and a description. This helps search engines categorize and surface your images.
Captions: Visible captions beneath each photo pair reinforce your keyword targets and provide context for patients scanning the page.
Building a Gallery That Grows With Your Practice
Start with what you have. Even five strong cases per treatment category give patients enough proof to build confidence. Then make photography a standard part of your case workflow.
Assign a team member to own the photo process. After every cosmetic or restorative case, capture the “after” before the patient leaves the chair. Build a library steadily rather than trying to photograph fifty cases in a marathon session.
The practices with the most compelling galleries didn’t build them overnight. They committed to a consistent process, maintained their standards, and let the library compound over months and years. Your gallery a year from now will be your most powerful conversion tool — but only if you start treating every completed case as content worth capturing today.